2016 Website update…
Getting closer our dear peony gardeners! We are in the final stretch of tweaking and proofing the final website according to our webmaster. More updates to follow in the next few days. Thanks again for your patience!
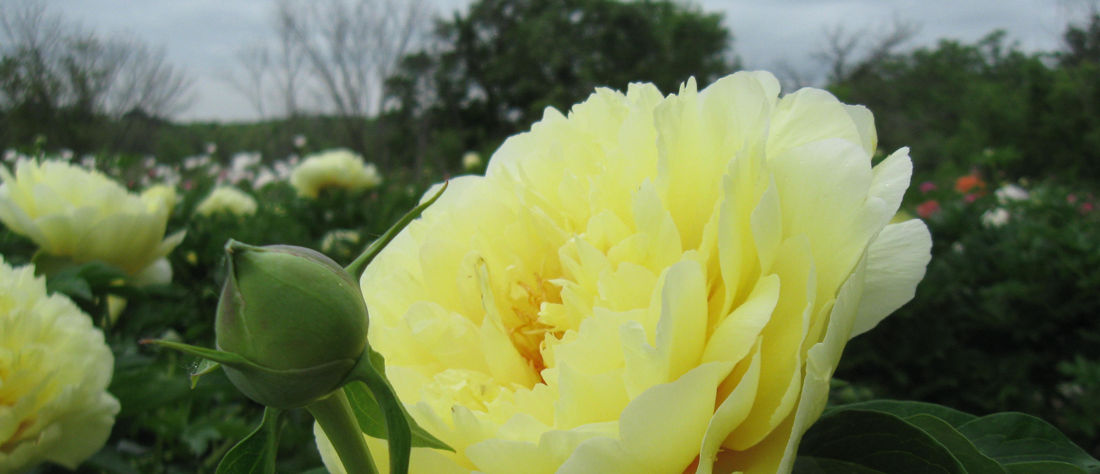
Getting closer our dear peony gardeners! We are in the final stretch of tweaking and proofing the final website according to our webmaster. More updates to follow in the next few days. Thanks again for your patience!
Still in hold our peony gardening friends! Spoke with webmaster today and he is thankful that the last hurdle has been cleared. Will keep you posted on launch date. Thanks.
Friends we are anxiously awaiting the launch date from our webmaster. Yes he ran into a few setbacks due to the changes. He will be updating us more tomorrow. So please be patient…like a peony!
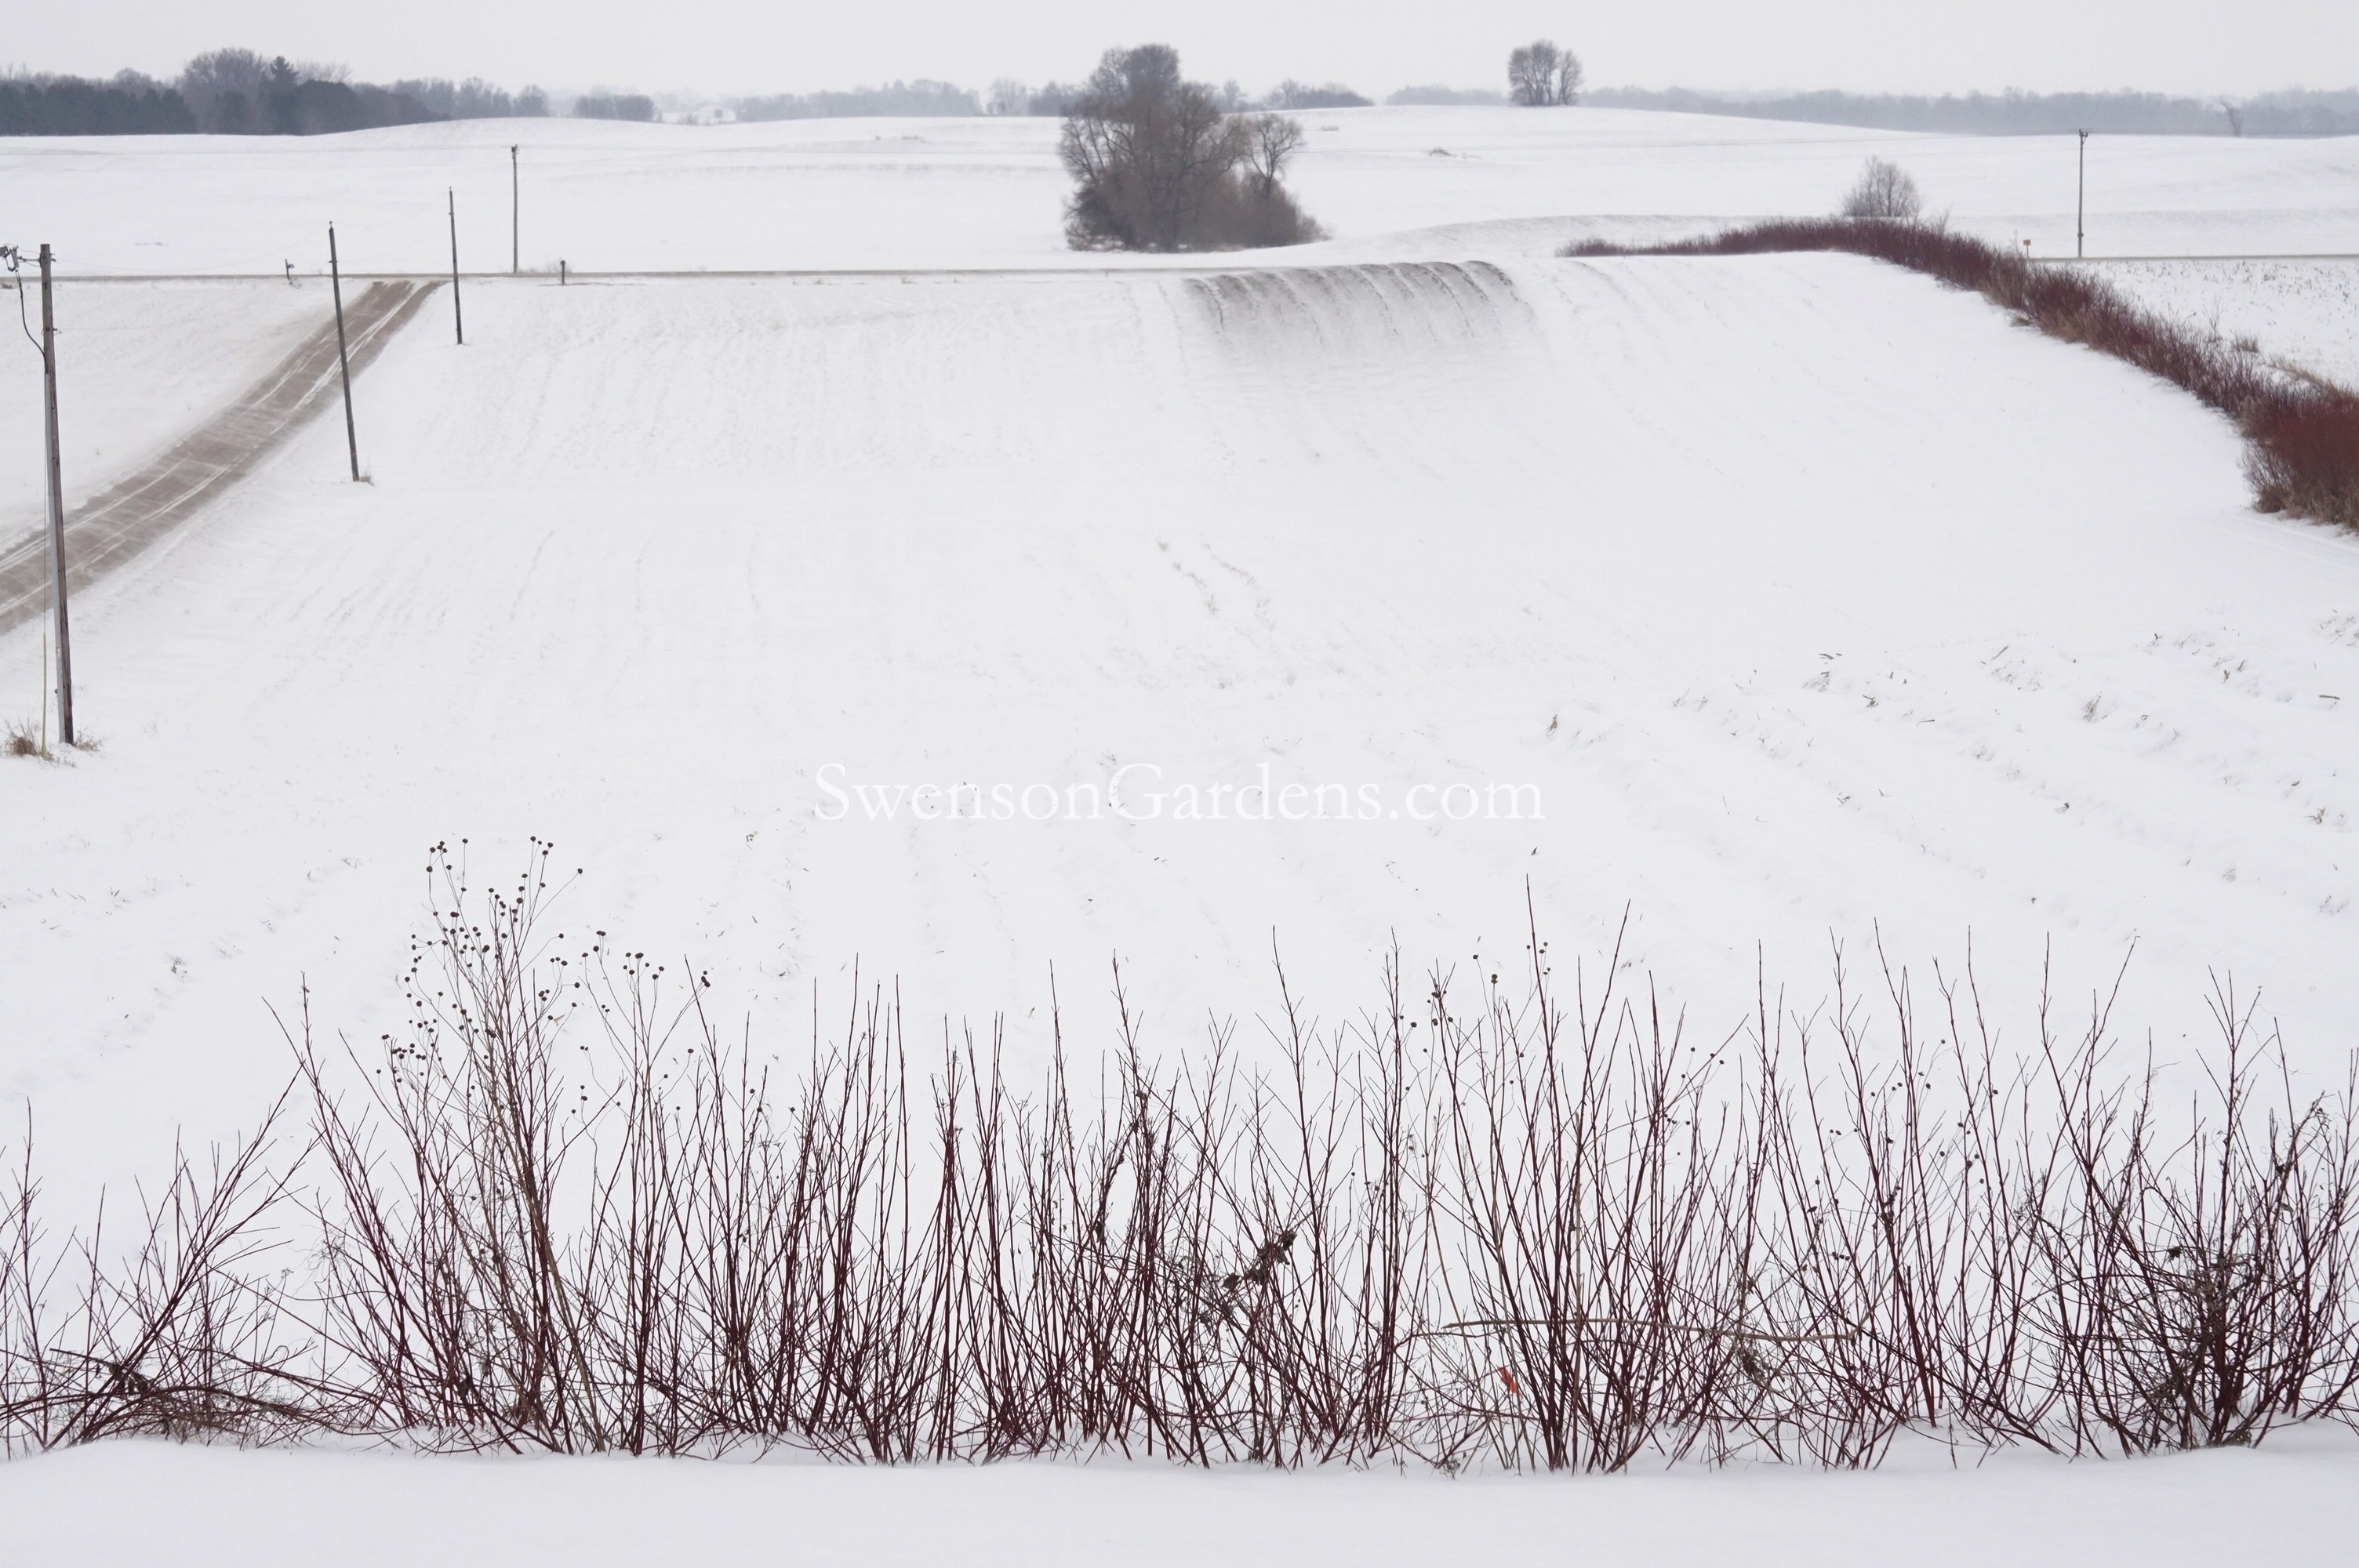
Looking out at a couple of our peony fields today reminded me of what was and will be a sea of color in a few months. Though the redosier dogwoods upfront add a hint of color, it is still apparent that the winter ‘white’ is still the main color scheme this time of the season. Perhaps not as much white as our gardening friends in the mid-Atlantic and soon to be north easterners, but it is still ‘white’. This time of year provides many ‘what ifs’ in our gardening minds. So much so that I have been thinking over the years about how ‘we’ can improve our home gardens. From my previous posts on how ‘we’ prepare our soil on a large scale to grow our bare-root peonies, how can ‘we’ as home gardeners prepare our soil for peonies? Growing peonies that are chemical free is my passion! Might I perplex you a bit with this post and perhaps cause you to question ‘how to grow peonies’?
Since we are preparing our propagating fields in advance, how might that encourage you to prepare your growing sites in advance? Does adding chemically produced 10-10-10 or whatever flavor of instant fertilizer to our growing site cause peonies to grow faster? Even Milorganite, does that produce peonies faster? Case in point, in our growing fields that were prepared a year or two in advance saw significant increase in growth versus peonies that were planted around our home using our peony planting tips and chemical free peony starter fertilizer. Very interesting! We all want our bare-root peonies to grow as fast as they can, right? So I submit to you, how can peonies grow faster when their growing site nutrients and micro-nutrients have not been amended into the soil? The answer is they can’t! Soil amending, as we have seen and experienced in our growing fields, takes one to two years for nutrients to amend into the soil. Are we on to something here? The answer is definitely yes! As I mentioned above, my passion is to grow peonies without chemicals, period, but you now know my passion is also to grow peonies that are vigorous. Chemically produced fertilizers DO NOT amend the nutrients and micro-nutrients of the soil!
The waiting game! Some gardeners, including me at first, bought and planted potted peonies thinking the instant spring color was amazing! Well little did I realize that in another area of our home garden some of Roger Anderson’s intersectional hybrid peonies were planted as bare-root peonies in the fall. Oh the joy of having instant blooms of potted peonies that first year in our new home were replaced in the second and third year of oh where oh where did the potted peonies blooms go? The bare-root peonies had more blooms and vigor in the second and third year than the instant first year blooms of the potted peonies. Bare-root peonies acclimated to our growing site faster than potted peonies. Why? Potted peonies took an extra year to acclimate to their new growing site versus their comfy greenhouse led beginning. Amassed with every conceivable chemicals to help them ‘look good’ when first planted. Once the potted peonies realized they had to grow on their own, their life and vigor was set back knowing their comfy life was replaced with real world growing conditions.
Alas my conclusion, by preparing our growing site in advance allows the dormant bare-root peonies planted in the fall to taste the nutrients and micro-nutrients when they come out of dormancy in the spring! Geez you say, now I have to rethink my growing site years in advance? Well yes if you are like me! I would do the following this spring: 1) Plan where you intend to plant your 2017 bare-root peonies in the fall, yes 2017 fall peonies. 2) In the spring of 2016, excavate a 2′ wide by 2′ deep hole. 3) Put two shovel scoops of composted cow manure and one cup of Milorganite into the bottom of the hole and replace the excavated dirt. 4) Water in the dirt slowly. 5) Cut a 30″ circle of professional grade landscape fabric and staple it to your site location. 6) In the fall of 2016, take off the landscape fabric and excavate the same 2′ wide but now 1′ deep hole. 7) Put one shovel scoop of composted cow manure and one cup of Milorganite into the bottom of the hole and replace the excavated dirt. 8) Water in the dirt slowly. 9) Replace the landscape fabric and staple to your site location. 10) In the spring of 2017, take off the landscape fabric and excavate the same 2′ wide but now 6″ deep hole. 11) Put 1/2 shovel scoop of composted cow manure and 1/2 cup of Milorganite into the bottom of the hole and replace the excavated dirt. 12) Water in slowly. 13) Replace the landscape fabric and staple to your site location. 14) in the fall of 2017, plant your bare-root peonies as described in our planting tips but DO NOT ADD any composted cow manure and Milorganite! This now allows you to grow your peonies like we do in the fields! Yes it takes time, but remember what I said in the second paragraph above!
Ok for those of you who want to plan your site locations for the fall of 2016, here is a shorter version with a few less steps but the results will still help you! 1) In the spring of 2016, excavate a 2′ wide by 2′ deep hole. 2) Put two shovel scoops of composted cow manure and one cup of milorganite into the bottom of the hole and replace the dirt. 3) Water the dirt slowly. 4) Cut a 30″ circle of professional grade landscape fabric and staple it to your site location. 5) In the fall of 2016, plant your bare-root peonies as described in our planting tips and DO ADD additional composted cow manure and milorganite as described.
Perplexing? YES! How to grow peonies? YES! TIme consuming? YES! Good for bare-root peonies? YES! Worth it? YES! Time to change dear gardening friends how we all can grow vigorous, chemical free peonies!
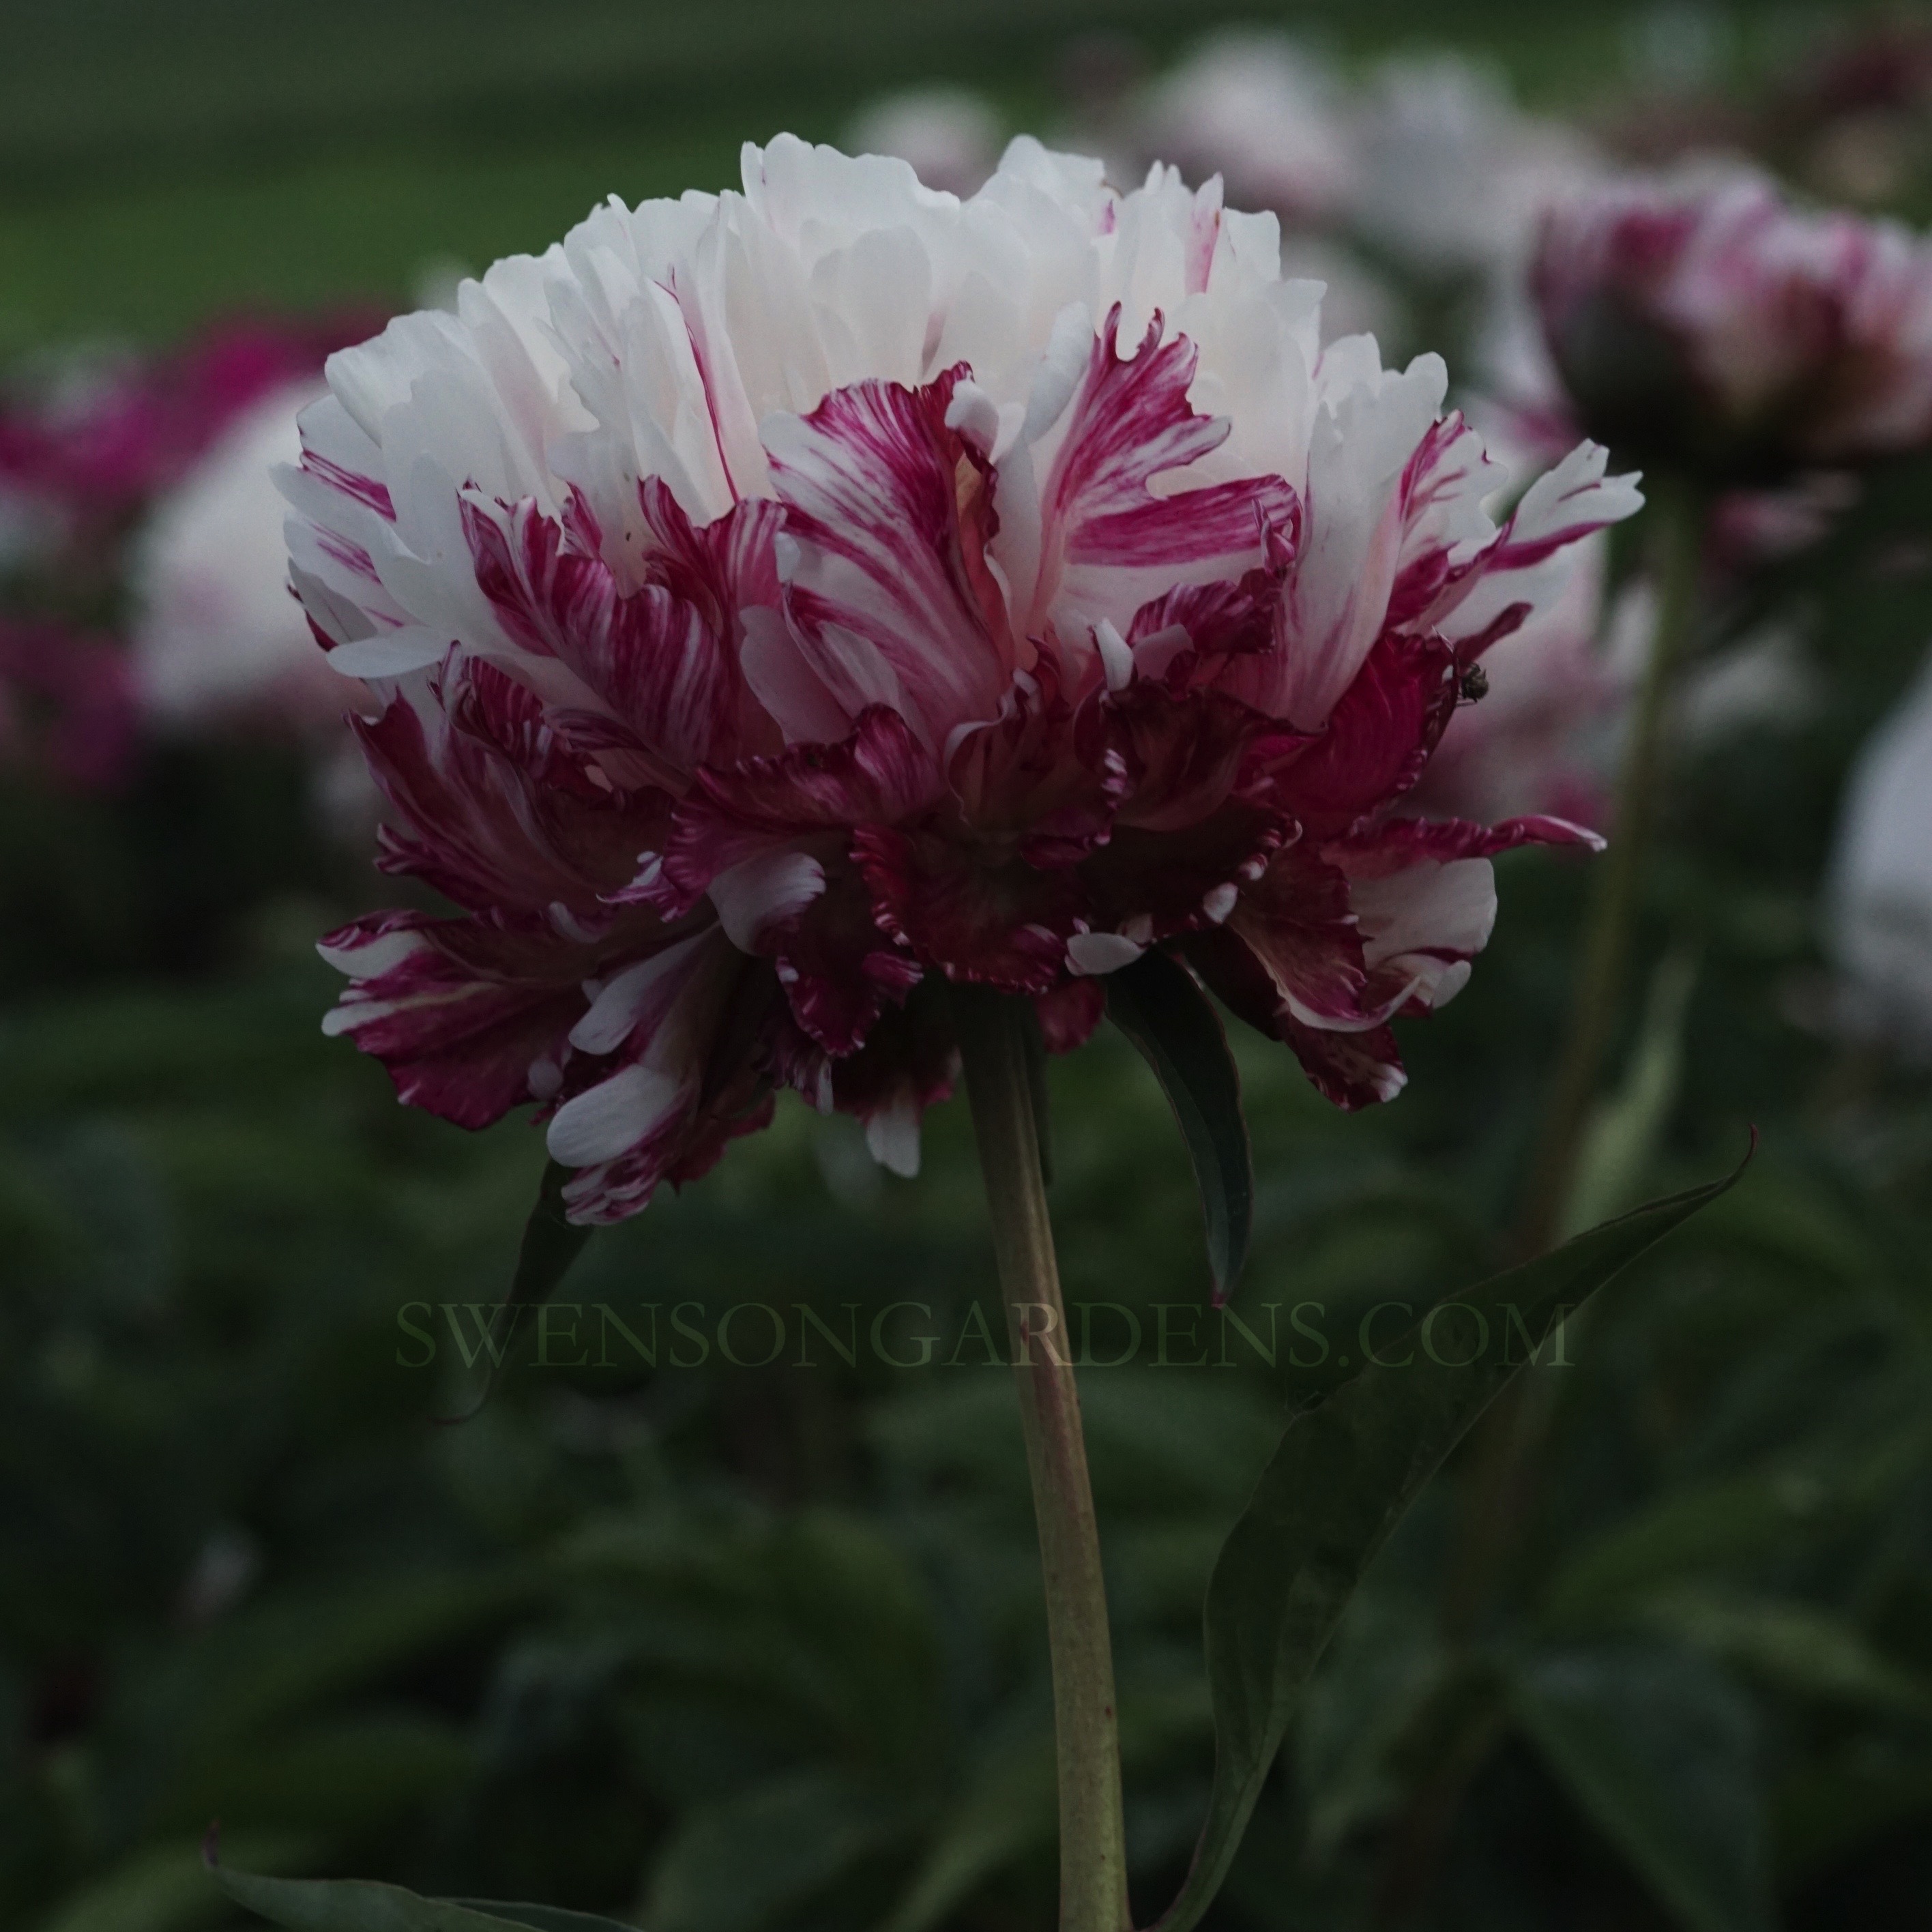
The 2016 Swenson Gardens website is still in the capable hands of our webmaster. Speaking with him on Thursday, IF all the updates and changes go well, he is thinking by February 1st. Stay tuned for more real-time updates. Remember this picture of ‘Candy Stripe’ when our new website launches. Yes Candy Stripe is our most popular peony so you may want to order early! Think peonies!

Hard to believe 4000+ peony photos back in spring, 5-weeks of cropping peony photos, 2-weeks of writing text and 1-week of proofing is now down to a single CD! And who said peony farmers hibernate in the winter? The CD was delivered to our webmaster last night so we are in great hands! Stay tuned to our Facebook and Blog for more real time postings. We are still guessing by end of January due to a complete refresh, uploading text and photos. I see a flashlight at the end of the tunnel! Peonies forever!
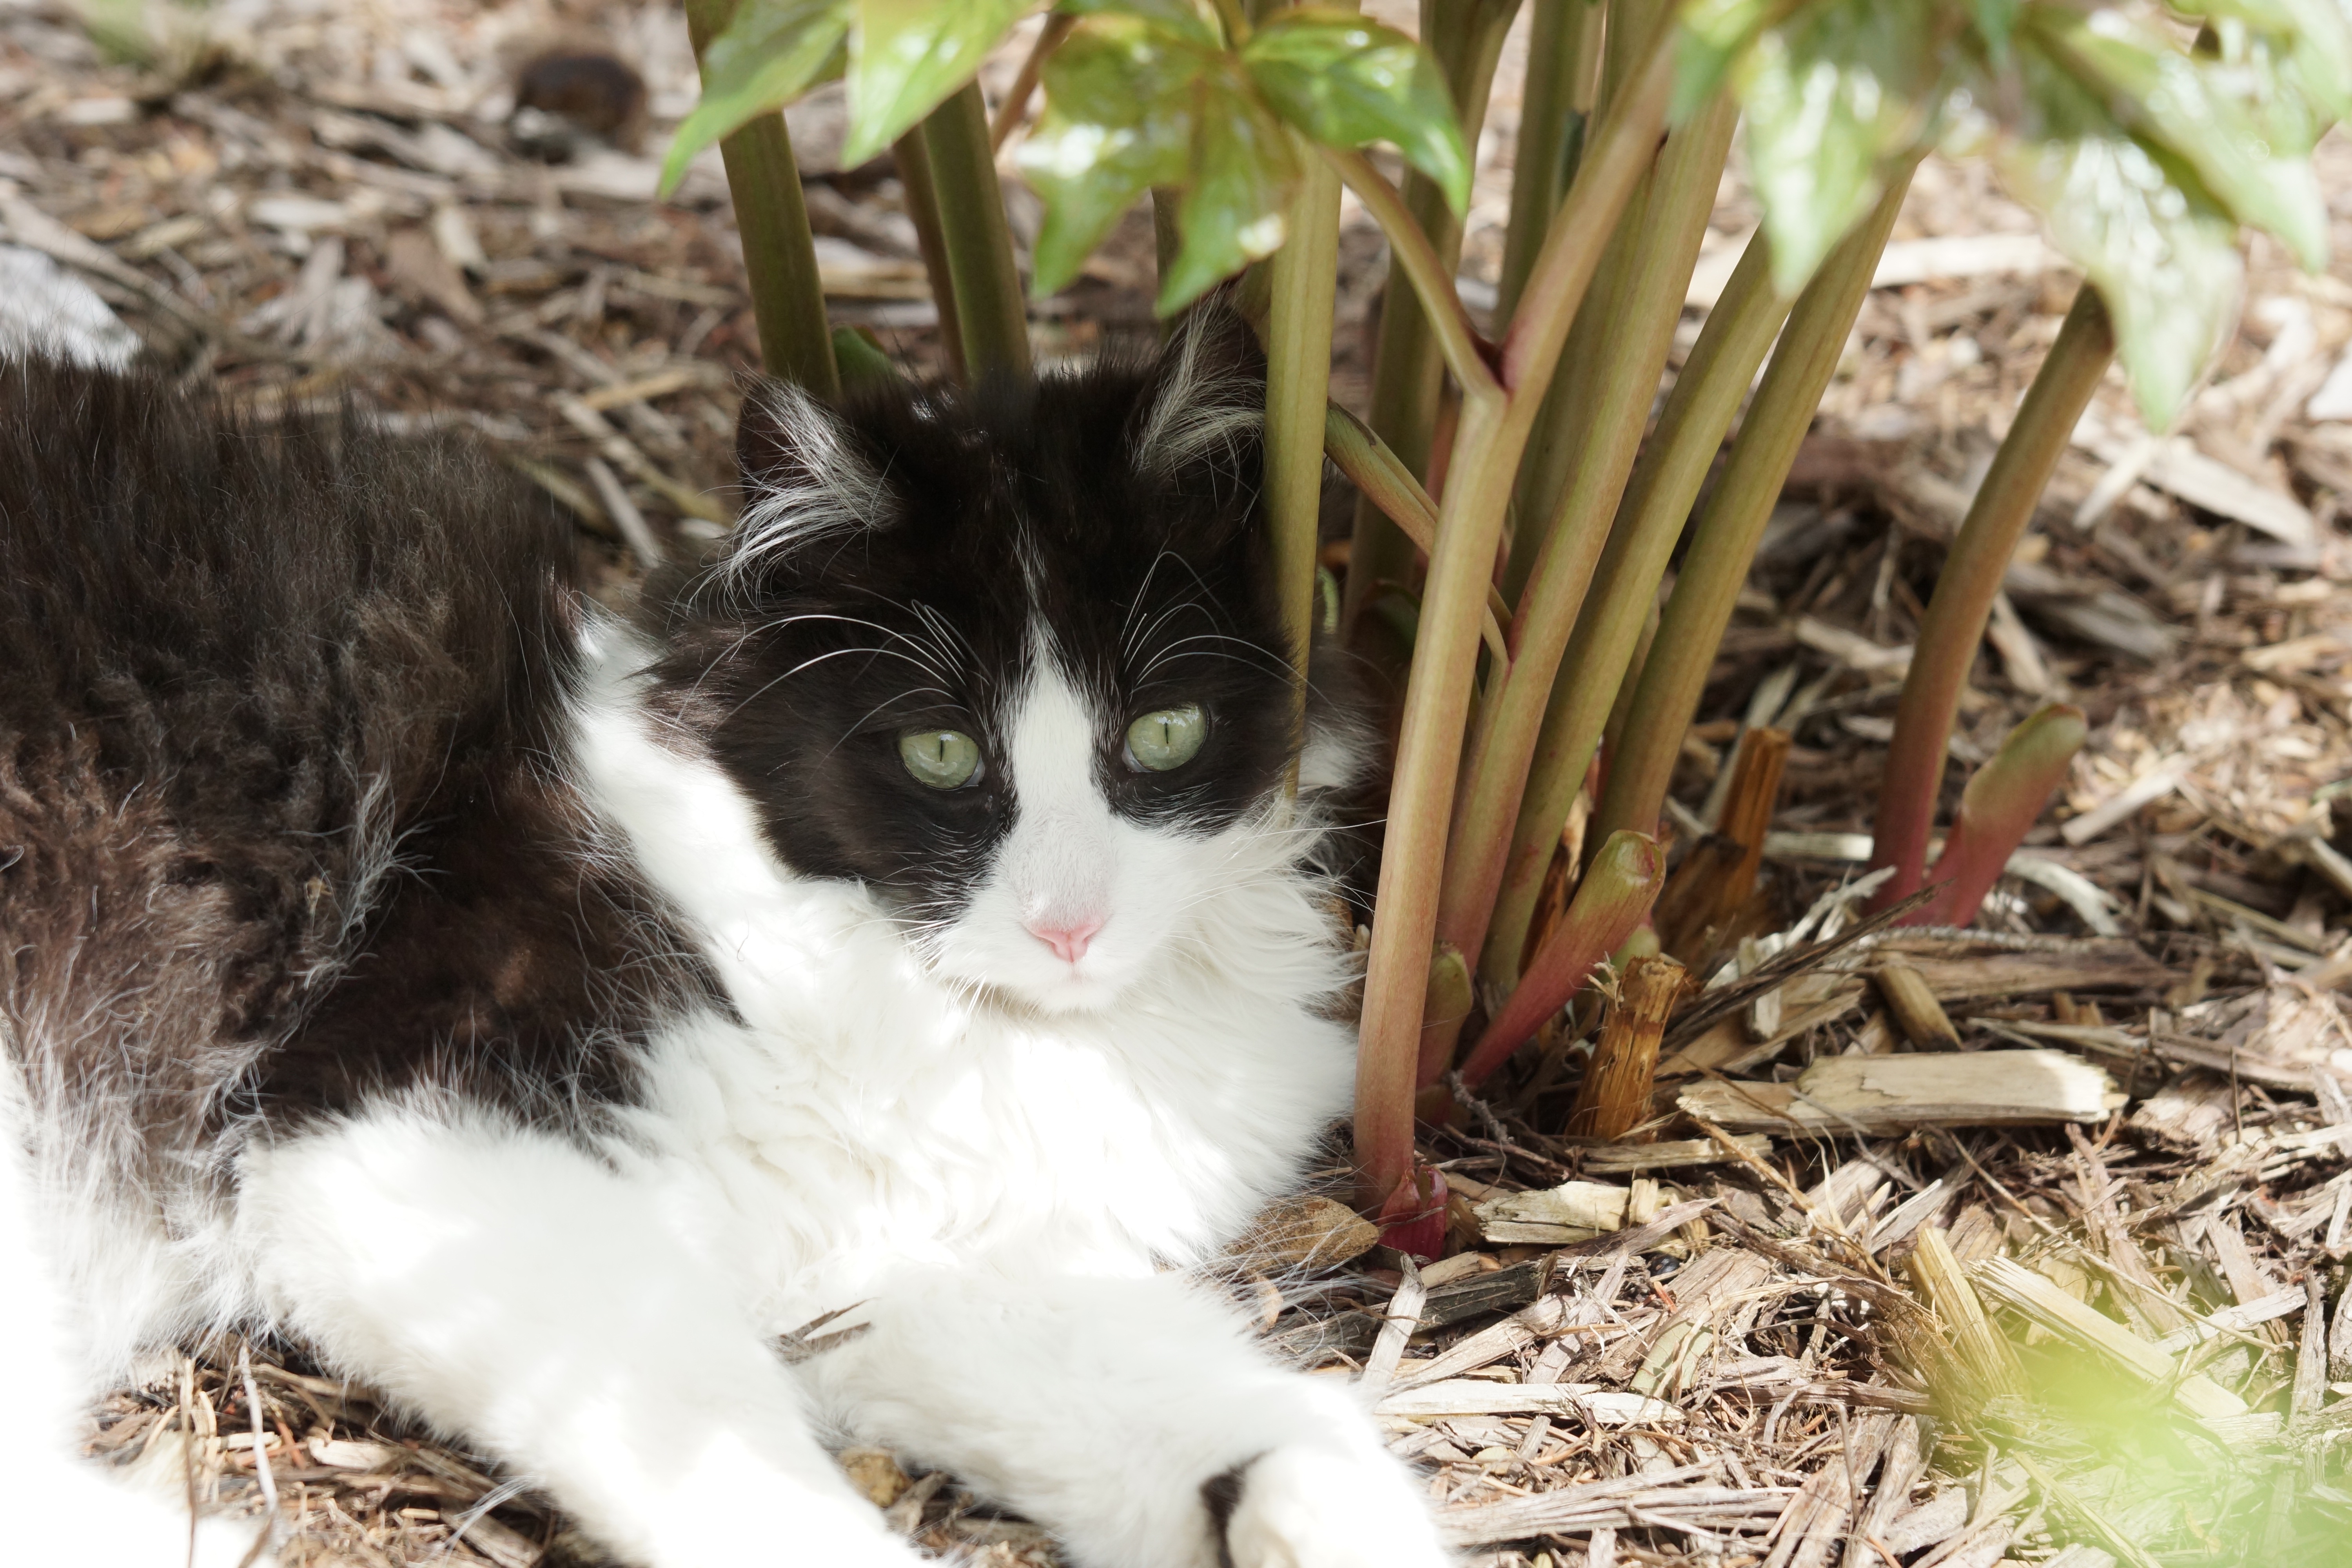
Oh to be taking a snooze in the peony field like one of our cats Panda, Panda Bear…aka Toby. I’m afraid the only way we would be able to see him in the peony field now is casting his black coloring against the SNOW! Maybe 4″ on the ground as we are way below normal snowfall for this time of the year. Reminds me somewhat of last year except no below 0 F temps as of today. As I get wiser, not older of course, I’m okay with warmer temps in the winter for this cycle, but I LOVE snow. Yes dear gardening friends winter is my second favorite season. Spring is still my favorite but we have a few months to go!
Updating a new design for our website is a lengthy process. We were presented the new ‘look’ yesterday from our designer and the consensus is WOW…again! She has been with us since the beginning and knows us and more importantly you! We are amazed at her eye for detail, yet ease of use on compute and yes for this year, mobile. The 4,000+ original pictures are now down to a mere 1,000 or so. My guess as of today is by the end of January for launch date but stay tuned to the blog and Facebook for real time updates as we get closer to launching. One of the exciting factors in launching every year is the number of new varieties we will be offering. Well for our bloggers, 52 new varieties will be forthcoming! This is the largest number of new varieties we have ever offered!
Though our peonies are dormant in the fields, we certainly have not been dormant preparing to launch SwensonGardens.com new peony website!
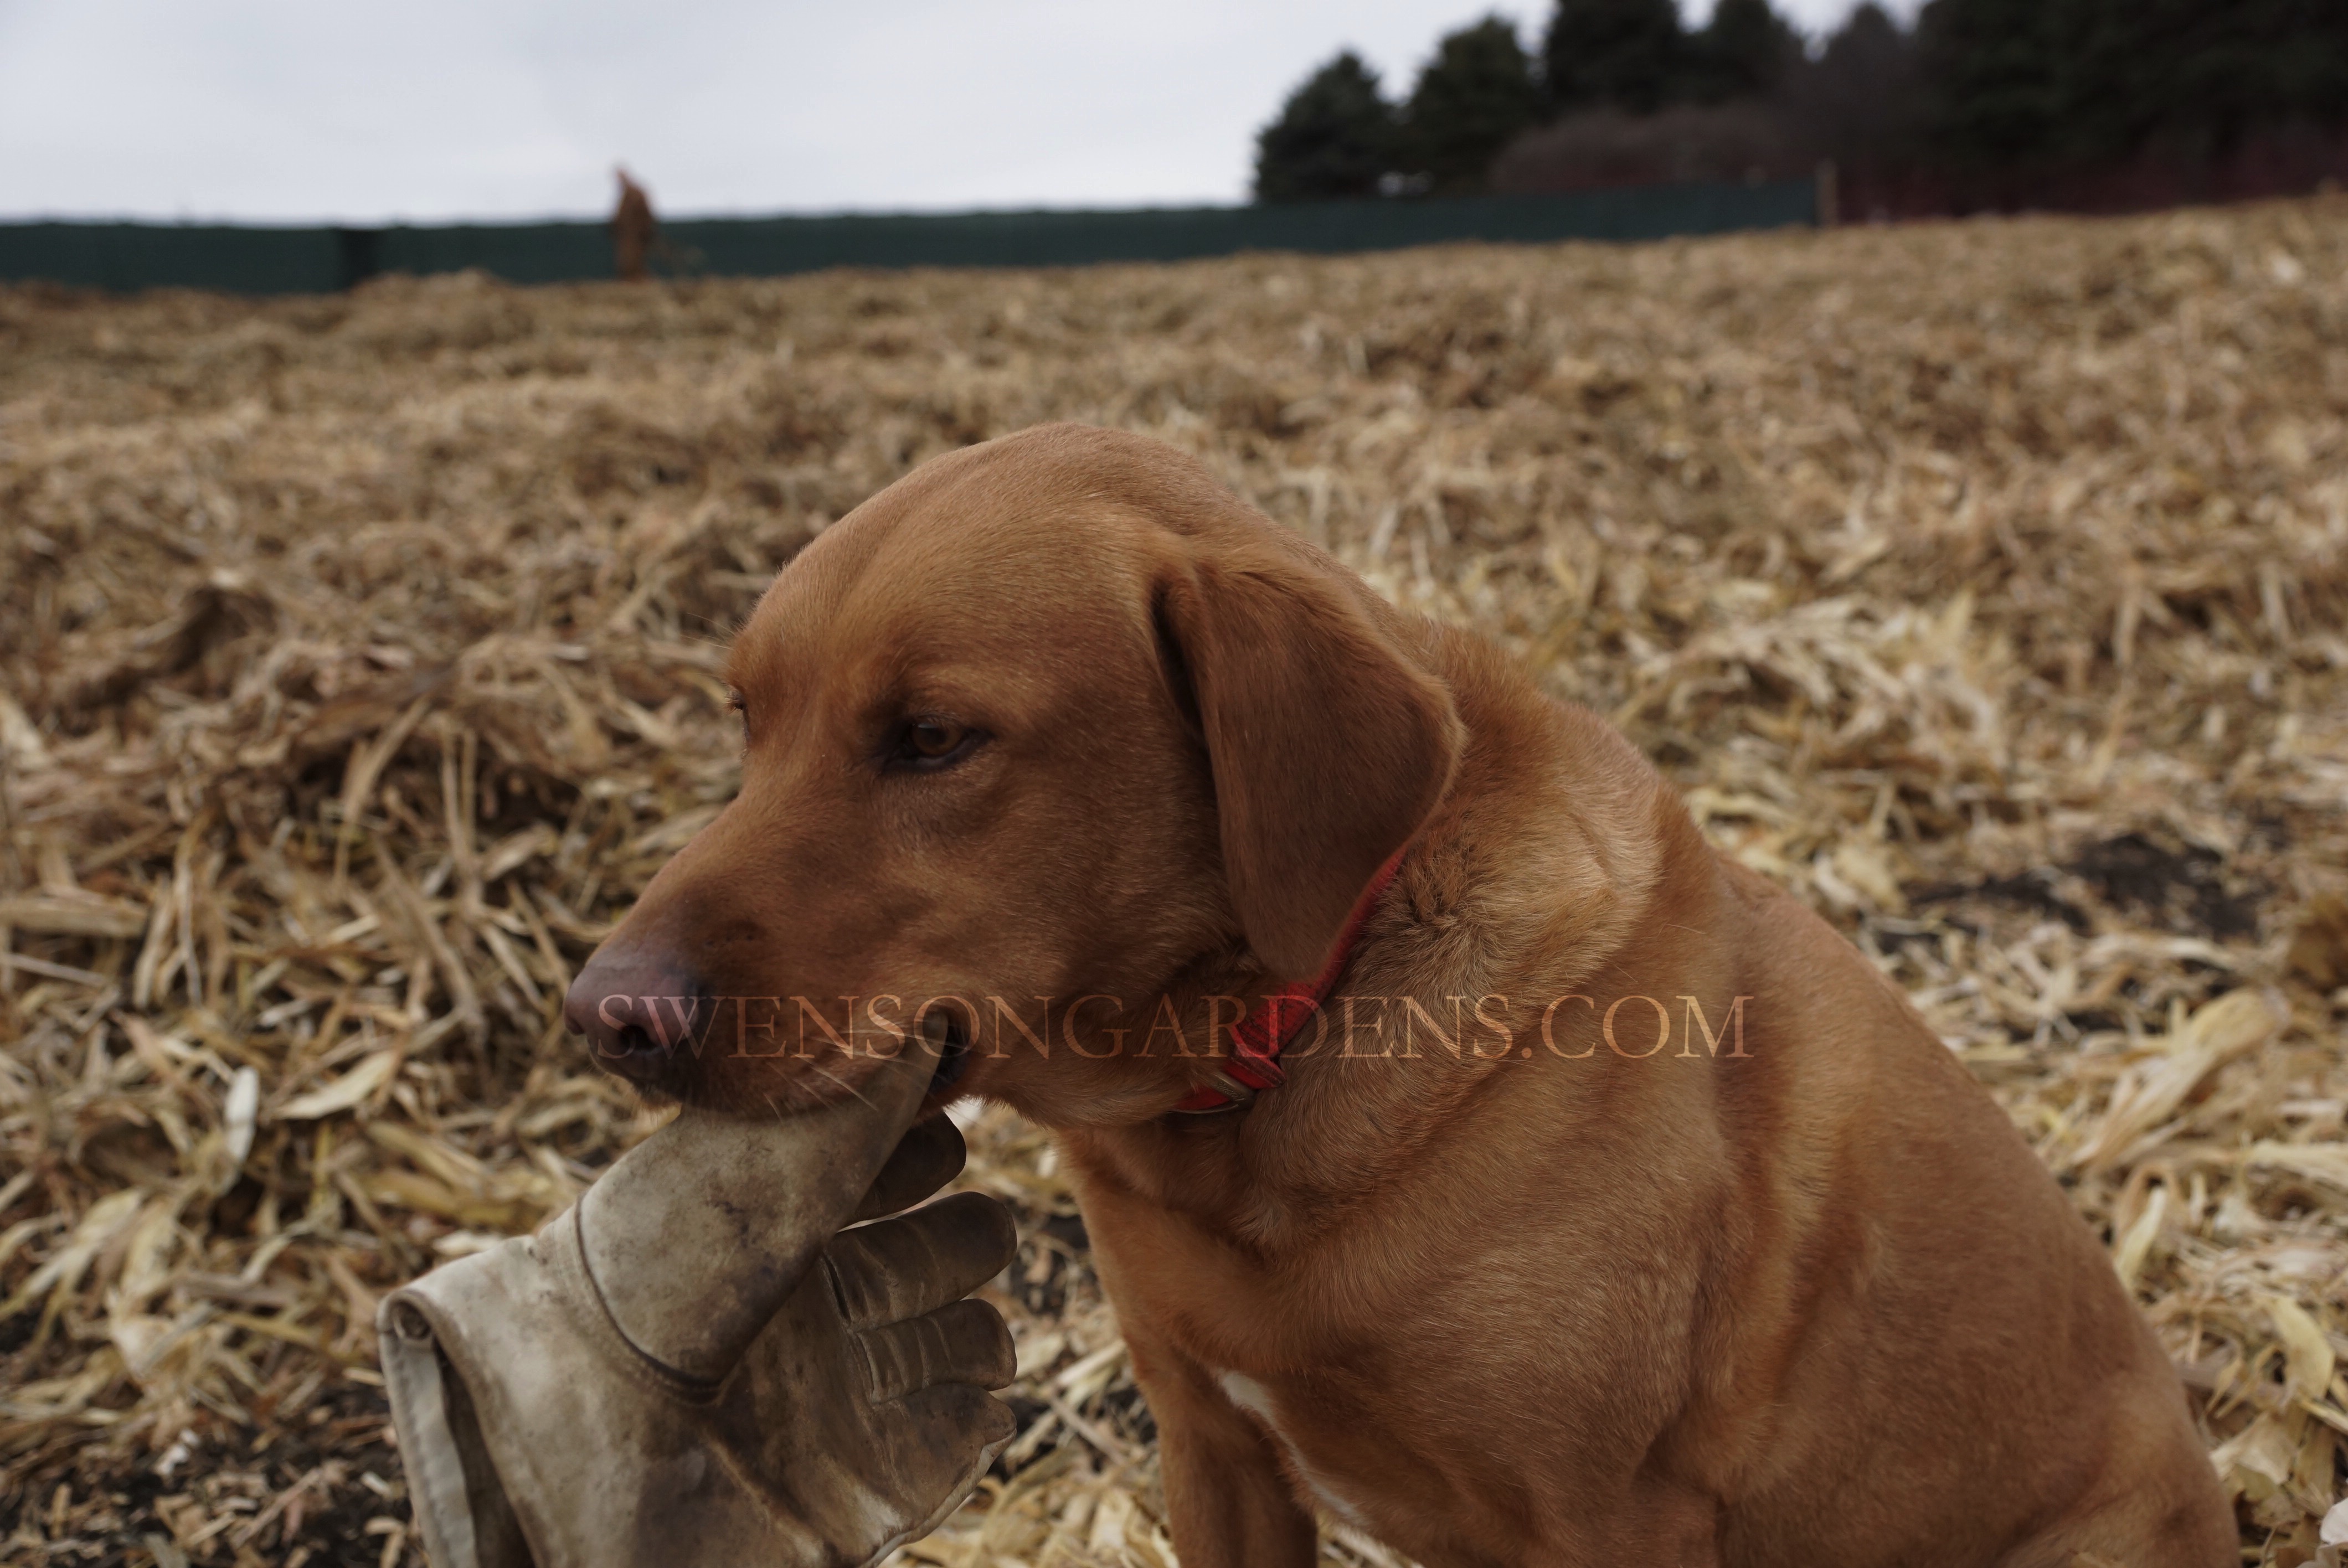
So where was Mr Mischief, Mr Stinker, Mr Cheese aka ‘Redd’ during our peony mulching? Becky caught up to him with ANOTHER glove! Geez this guy loves to steal gloves, shoes and hats. We went through our glove supply and have way too many different types of gloves…for one stinking hand!

Becky asked Redd how he likes mulching peonies?
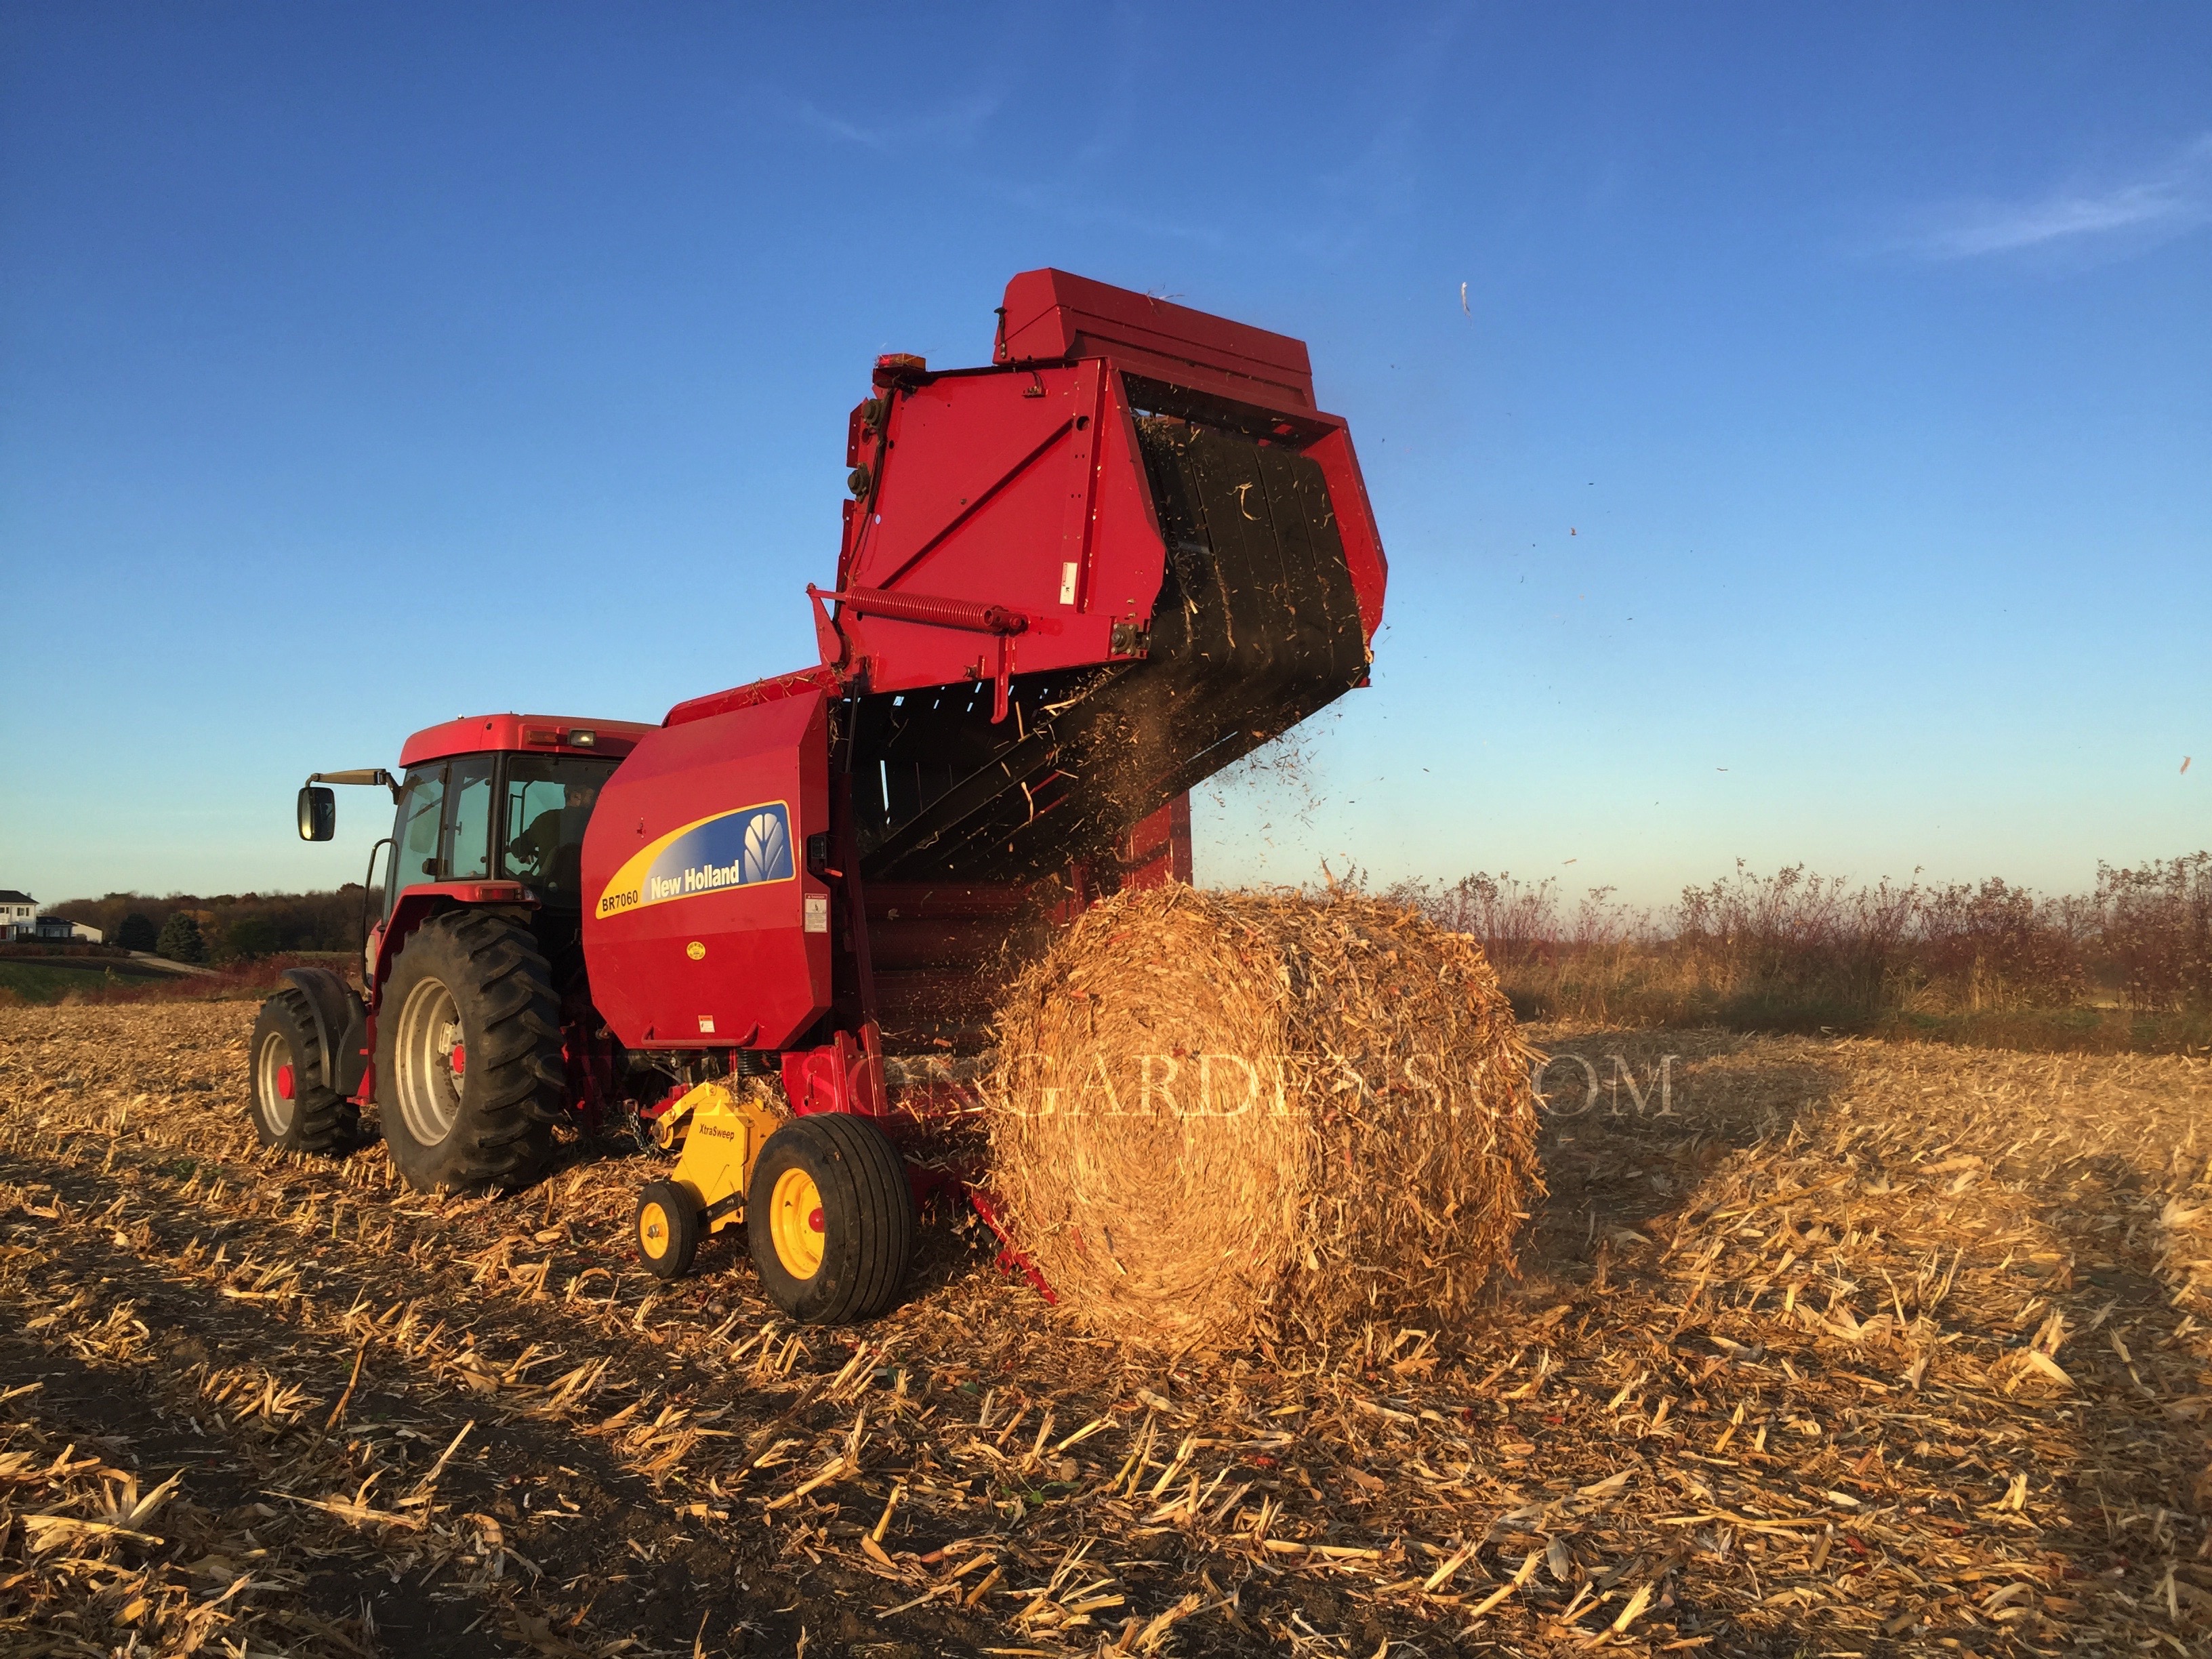
What does round bailing cornstalk bales have to do with peonies? (Oh by the way, Danny does get to drive the tractor too! He is a master at round bailing alfalfa, grass and cornstalks!) We use cornstalk bales to mulch our peonies after the ground freezes. Mulching should only be done on newly planted peonies in USDA Zones 2-5 and does not need to be done in USDA Zones 6-8. This is mainly done to prevent heaving of the roots during freeze and thaw periods. Two years ago we would load the bales on to our trailer and then use pitchforks to spread over the rows. This was a 3 to 4 day adventure in snow storms, sleet, high wind and maybe a sunny day or two. Needless to say it was not fun for a crew of 4 to 5 people. There had to be a better way to mulch peonies…
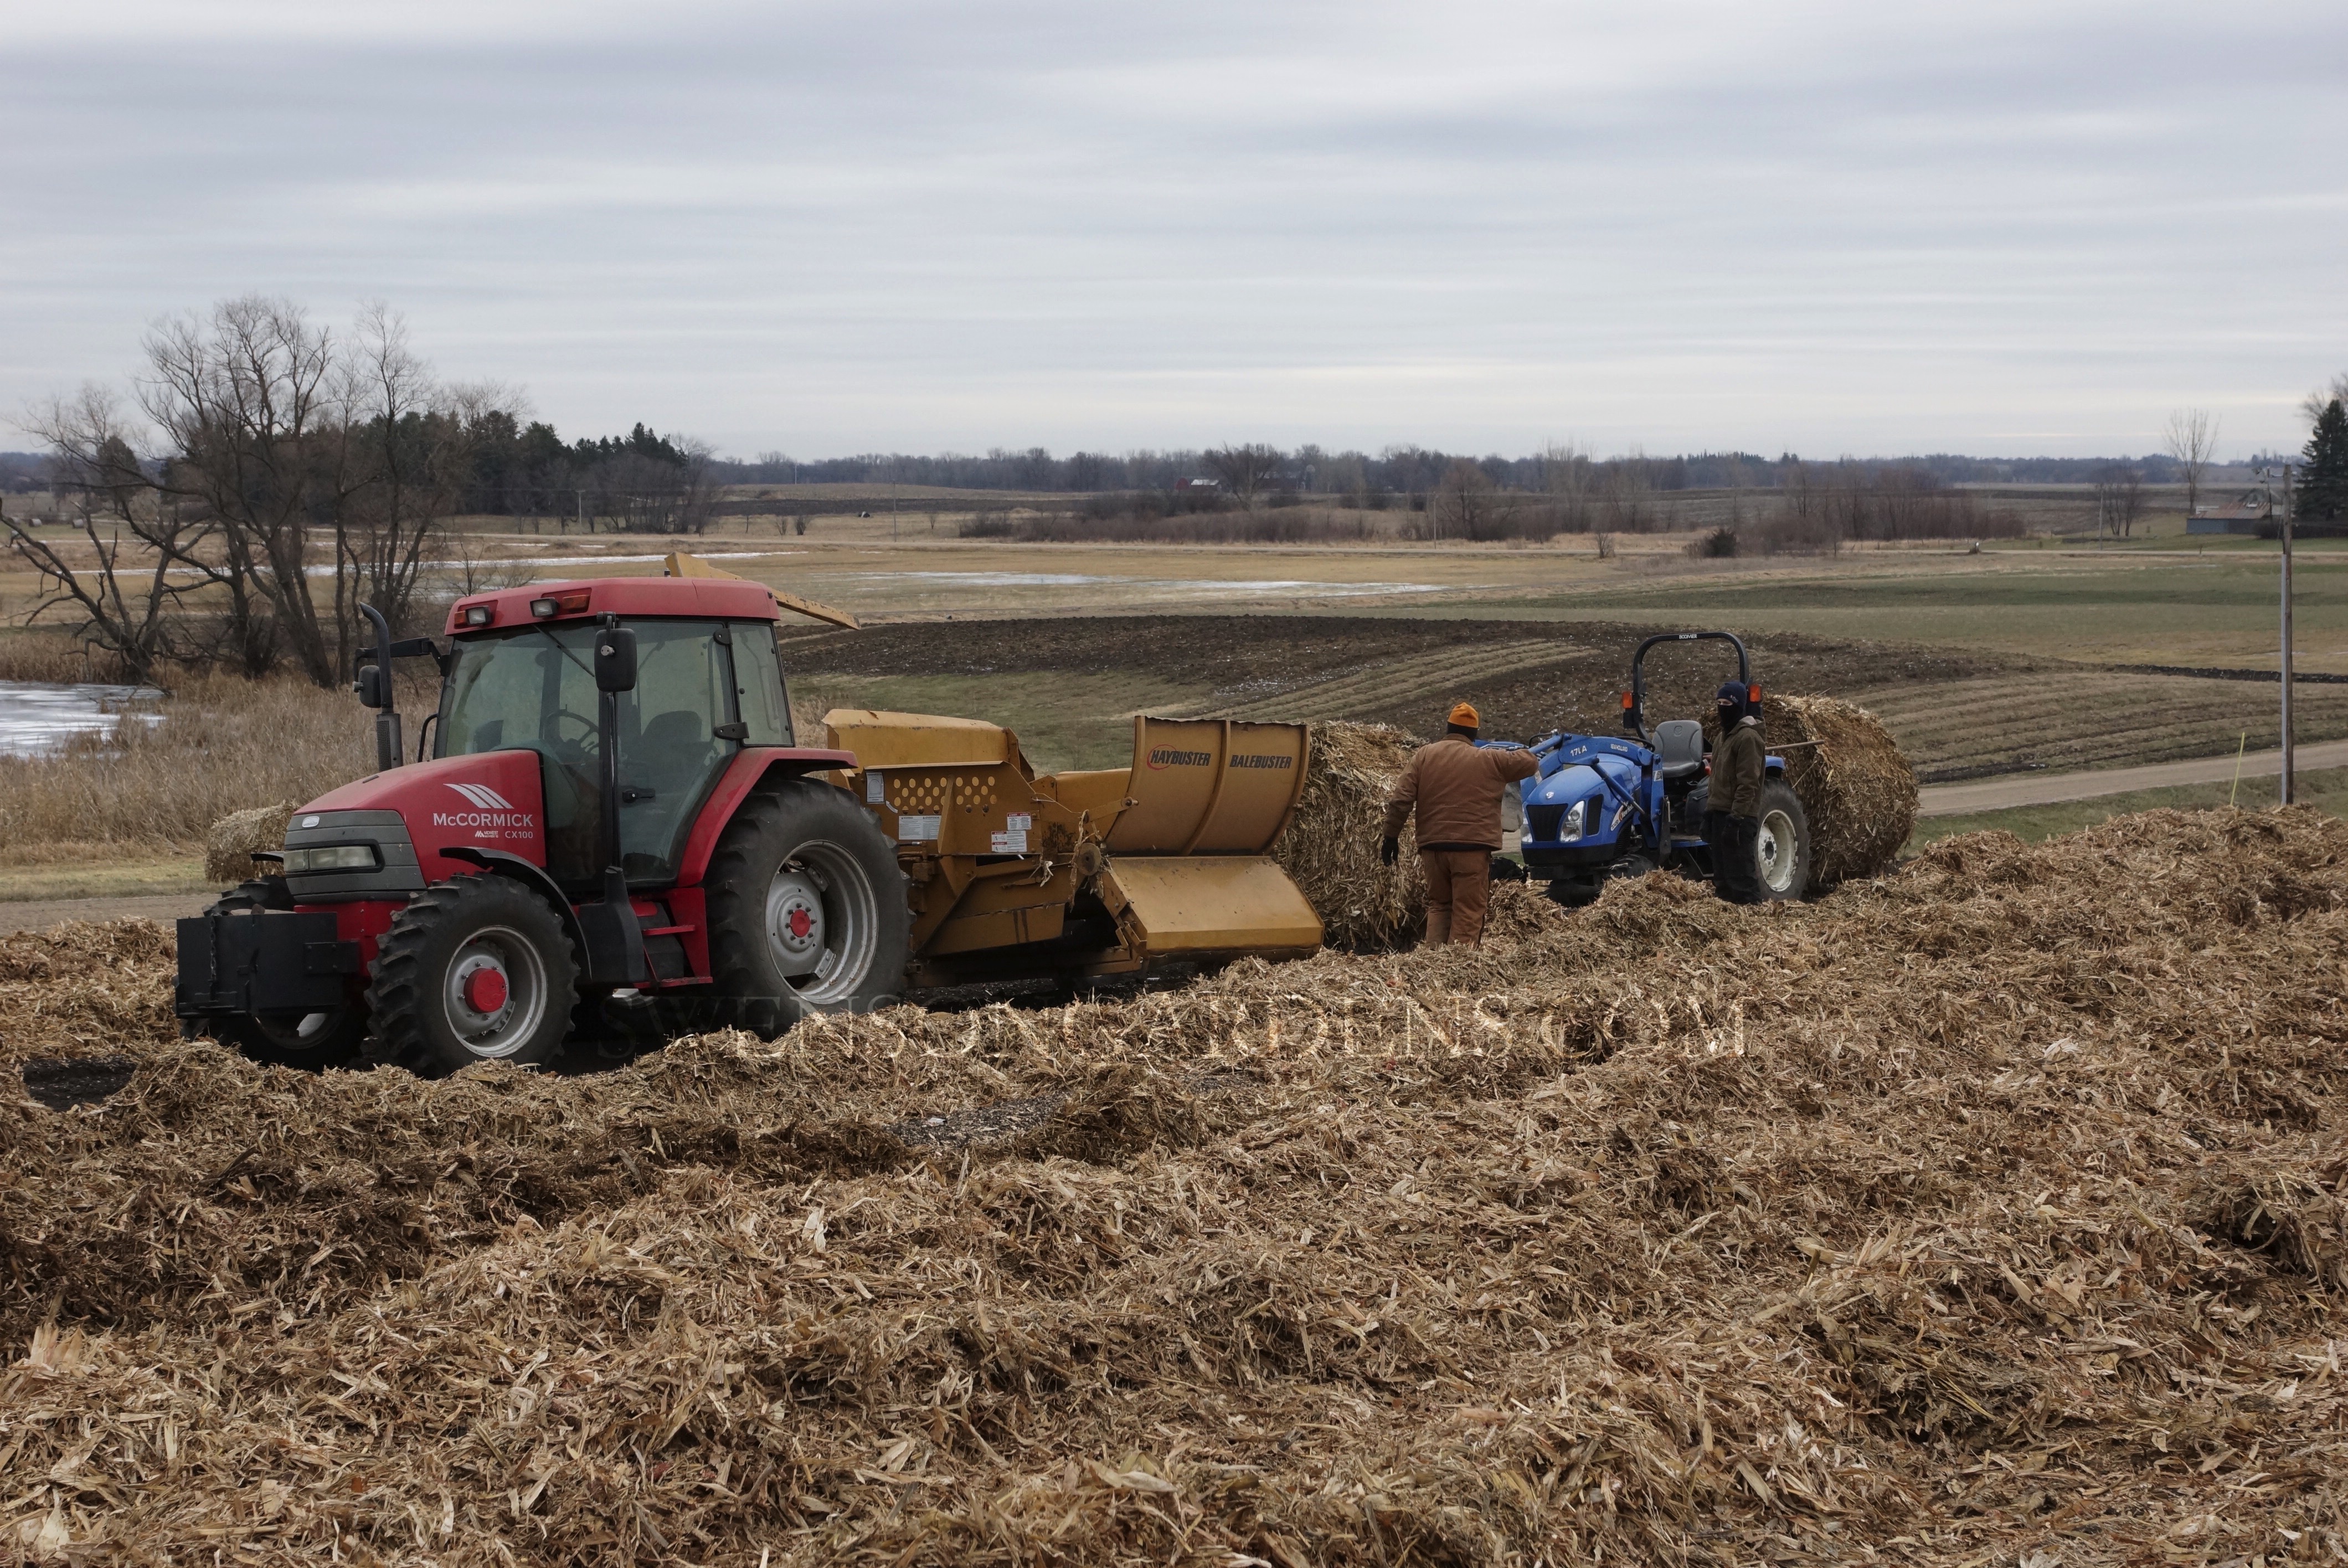
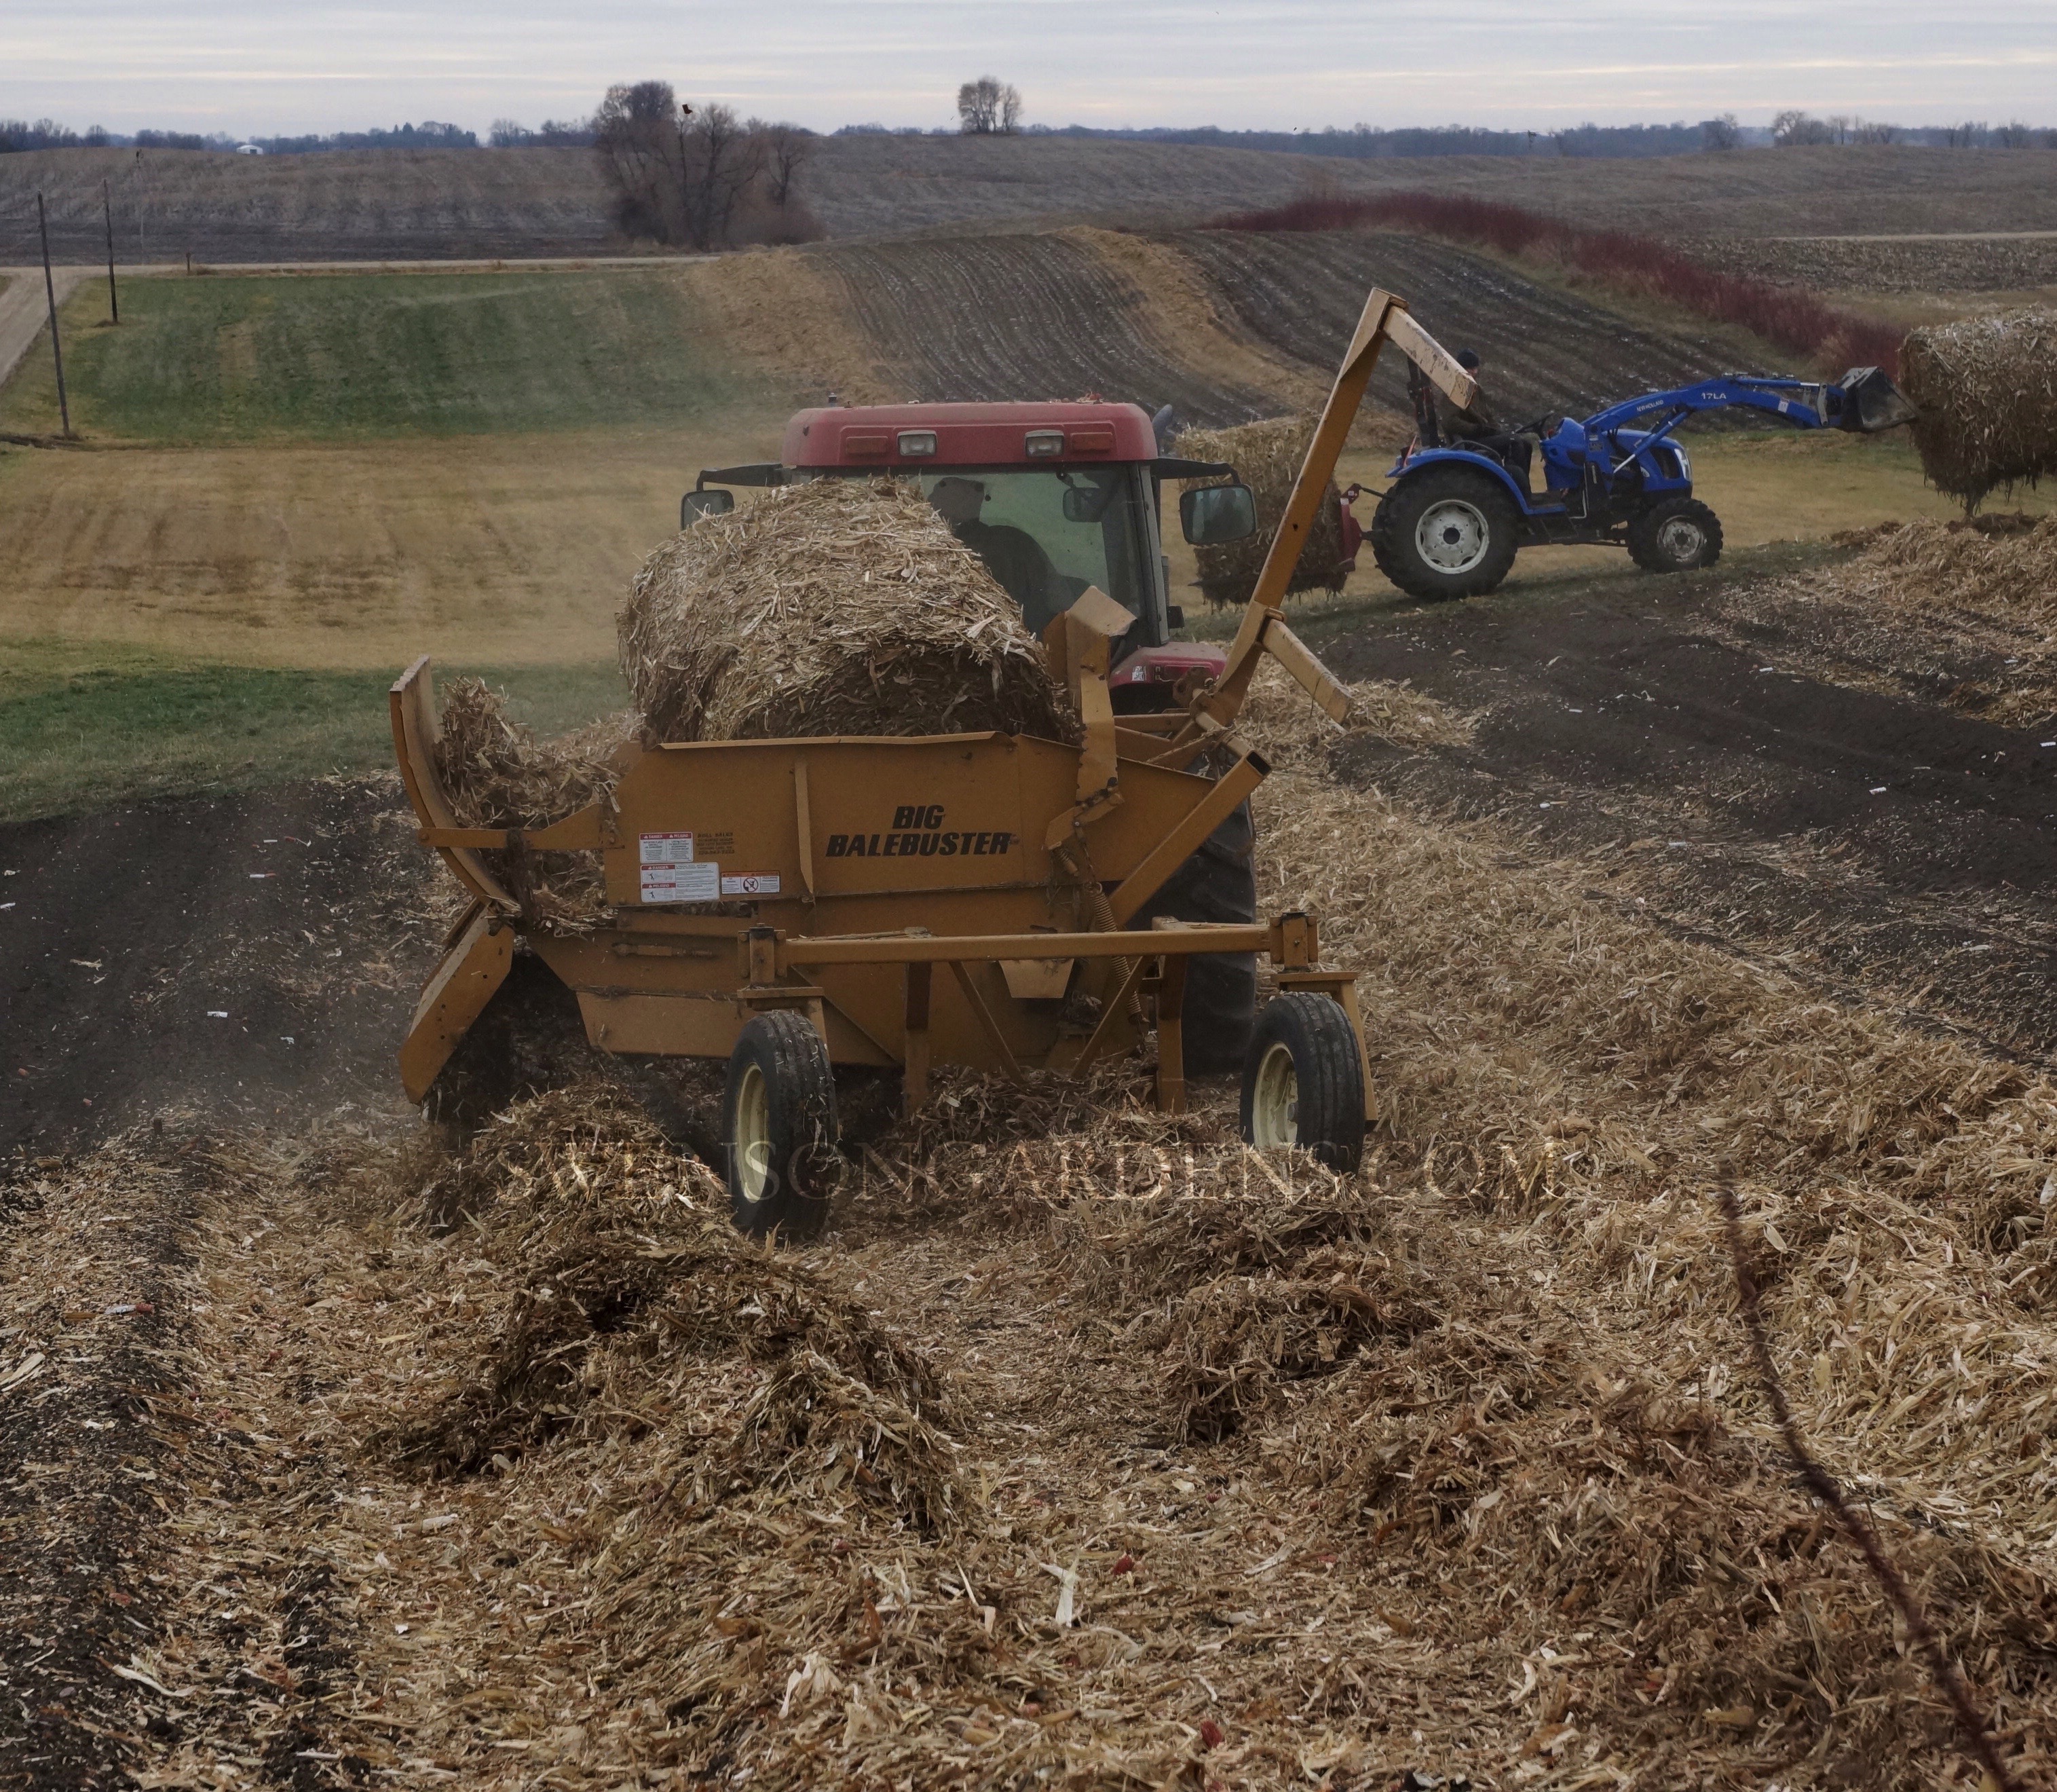
After some research, along came an attachment called a Bale Buster! These are normally used along side roads to spread straw over newly planted grass, chopping up bedding for cattle and also to feed cattle in the fields. Well will it work on peonies? Simply marvelous! Now our mulching is down to hours instead of days! There is some manual labor involved but its only to tidy up the rows. This is the second year using this equipment and cannot be thankful enough! There is still the labor of climbing up the ladder into the tractor, getting cold once I step out of the heated cab and oh yes, still no Blizzard to speak of other than mulching during a blizzard a few years ago. That episode went into the night as we had to get it done before the 14″ of snow would have prevented any mulching! Growing peonies in snow in the north…got to love it…I guess! In the background you will see the change that took place in our east field. Yes for Peony Field Days 2016 that field is no more other than a few leftovers. Our goal over the last three years was to get out of that field and move the peonies to better soil knowing what is available in other areas on our farm. Sad to see that field go but with growth comes change. Peony Field Days will be held in our west field with parking adjacent to that field.
The final step in putting the peonies to sleep for the winter! Thank you to all our gardening friends who allowed us to grow, nurture and protect your peonies in 2015! 2016 will be an exciting year of growth and varieties available for sale online, mail order and Peony Field Days!
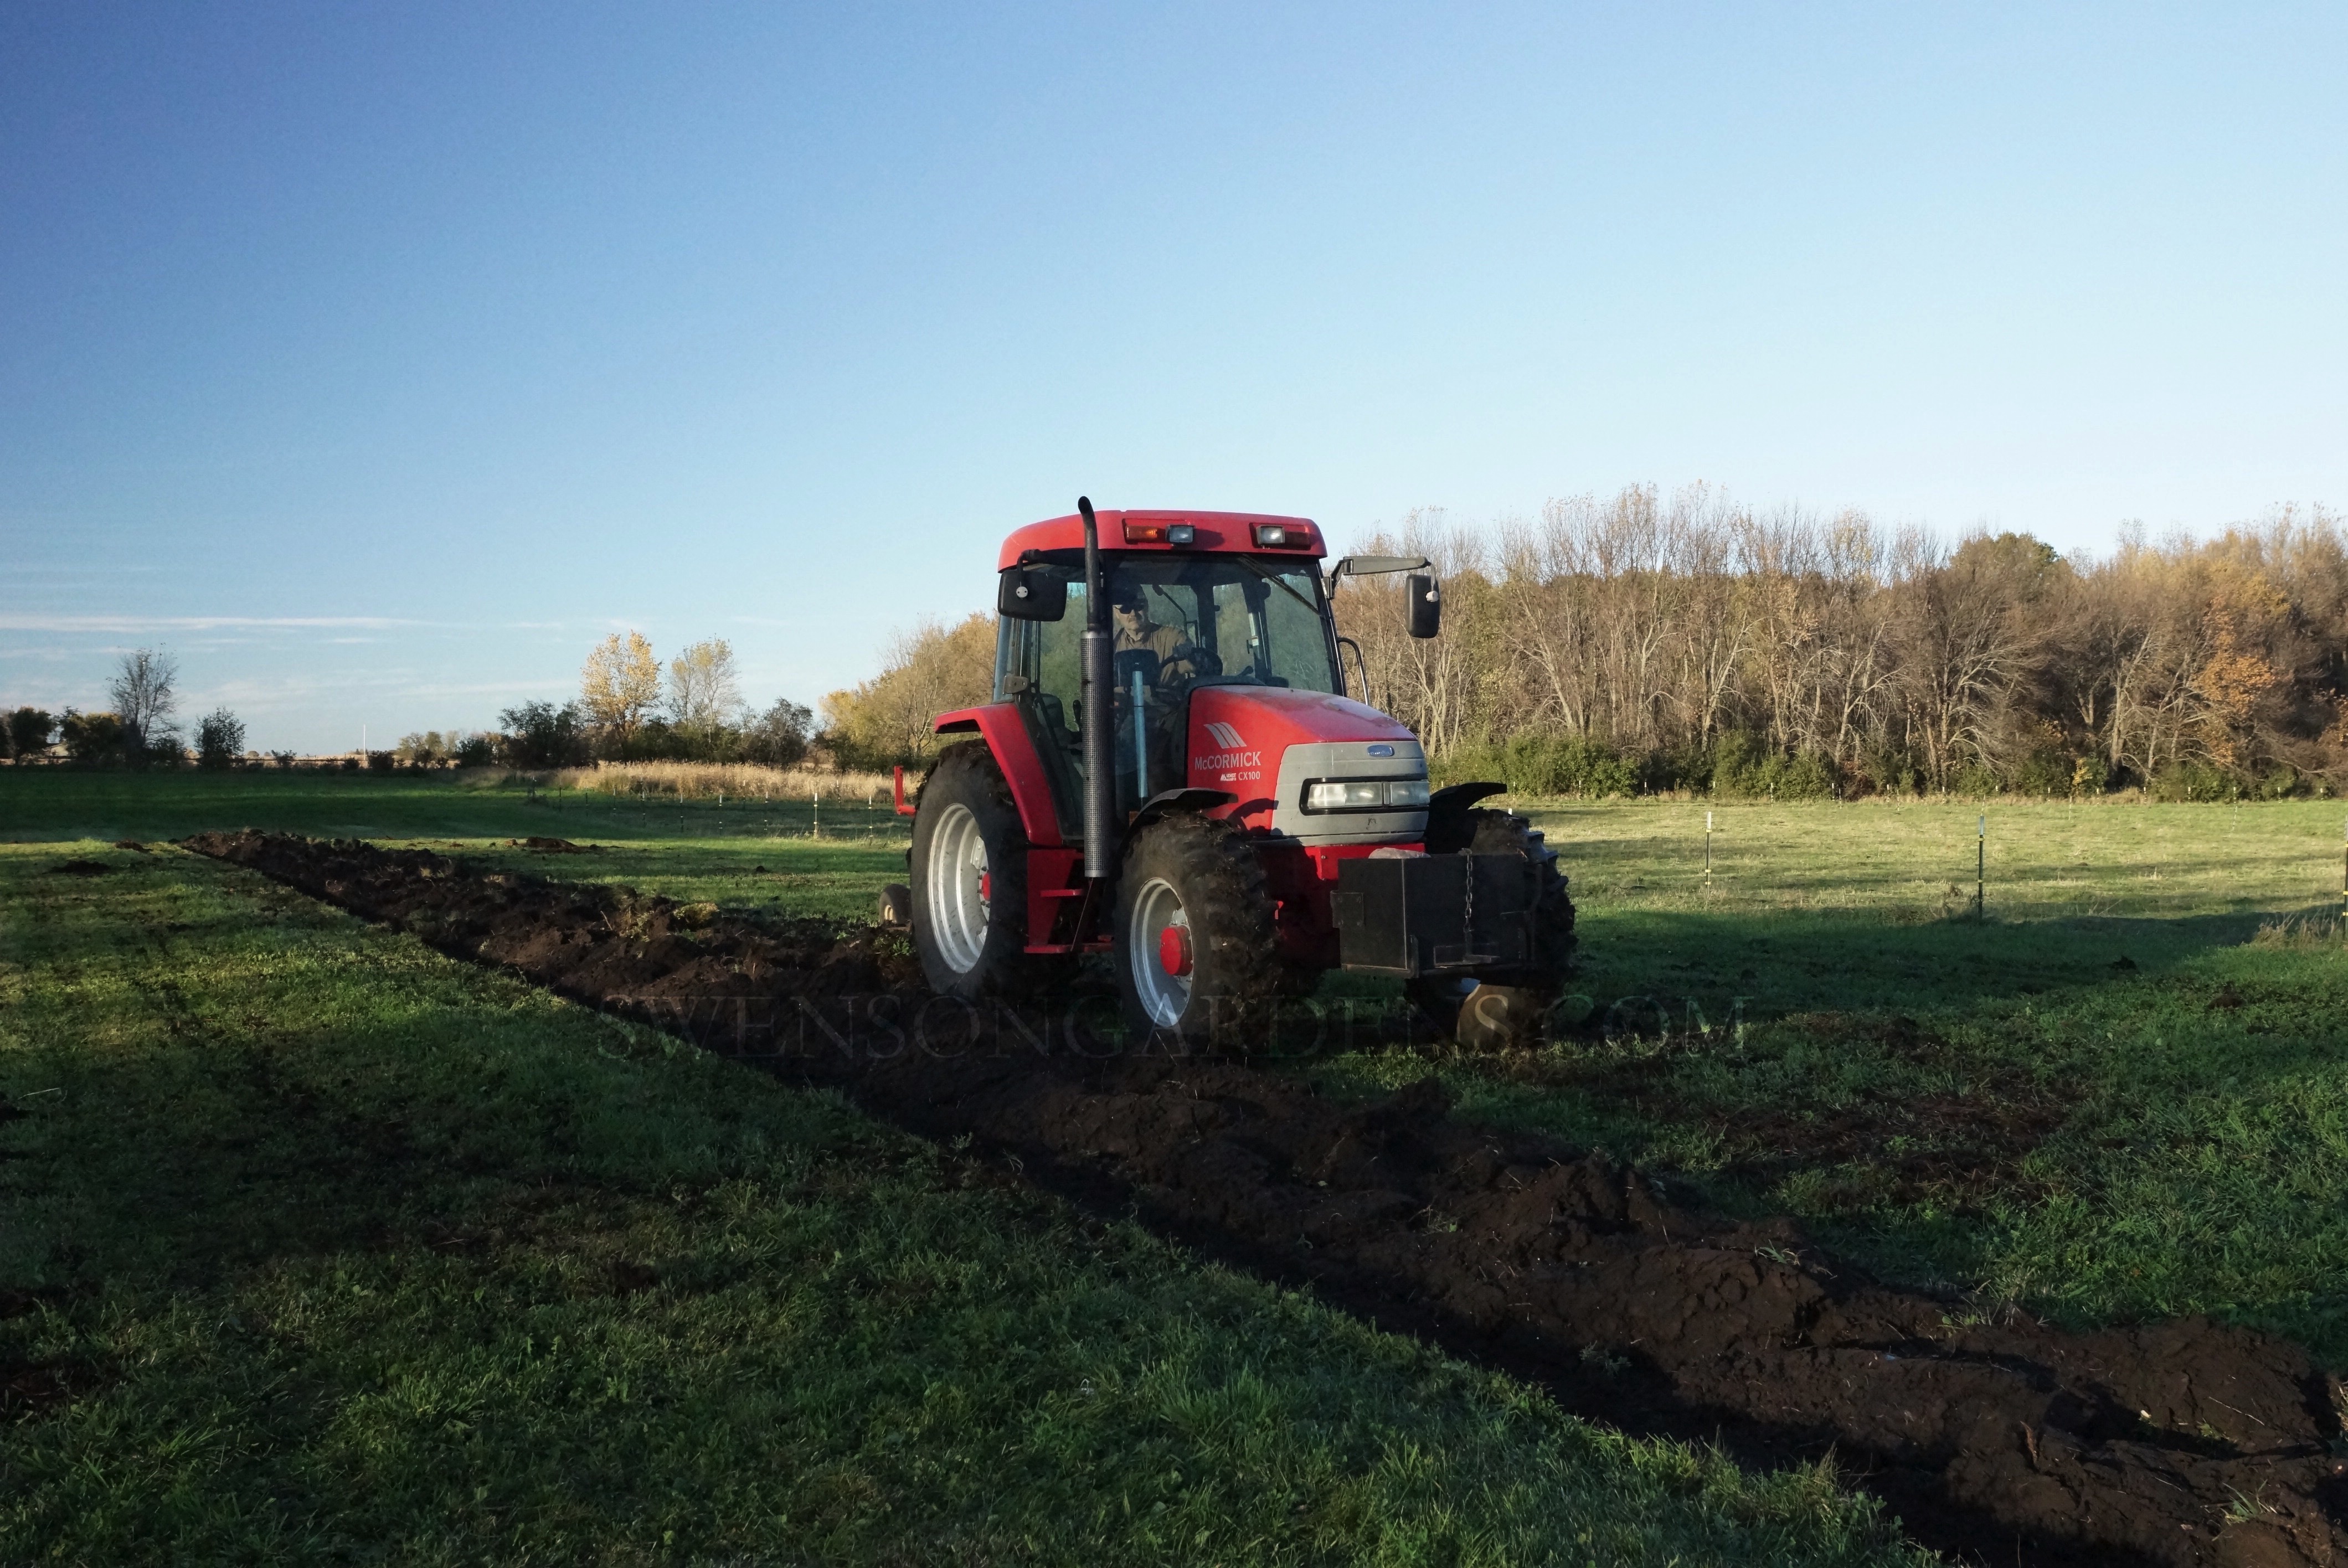
Where has all the alfalfa gone? As I mentioned in previous post, this field is getting ready for new peonies! Composted cow manure and our secret peony starter fertilizer was spread first on top of the alfalfa. Then within the hour i had to work really hard climbing up into the tractor in order to plow the field. (Nobody bought me a Blizzard after I worked so hard!) This tractor has been a Godsend to our peony farm. Large enough to handle all our attachments, field work; yet small enough to fit between the peony rows. The problem with applying any fertilizer topographically is the fact that most nutrients leach out before any beneficial nutrients can amend into the soil. Take care of the soil and who cares what you do above the ground! I’ve never understood why crop farmers add manure in late fall and winter when the ground is frozen? By the time the manure is worked into the soil in the spring, all nutrients have leached out and sterilized sitting on top of the ground. My dad always told me when he was farming that the sooner you can work the manure into the ground the better for the soil. Thanks dad as that now bodes well for preparing our peony propagation fields. Back to this field, in the think SPRING we add another round of fertilizer and then disk harrow it. For home gardeners, if you add any fertilizer to gardens, perennials, shrubs and trees, make sure to work it into the soil. Don’t just spread it around on top of the soil. Peonies especially will not benefit from topographic applications. (Footnote DO NOT use fertilizers you spray on to the foliage!) You are wasting money! Instead next July, take a 15″ long drain tile spade and step it into the ground as far as far as you can at the drip line of your peony. With spade in the ground, pull it back towards you, pour 1/2 cup of Milorganite in the space provided by the shovel blade and water it in. Take the shovel out of the ground and tamp the soil down. PLEASE NOTE, YOU DO NOT NEED TO DO THIS IF YOU HAVE PLANTED PEONIES THE SWENSON GARDENS WAY! Only do this if you have other peonies that are at least three years old that were not planted the Swenson Gardens way!
You know, I think I’m going to get a Blizzard tonight and celebrate plowing this peony field!